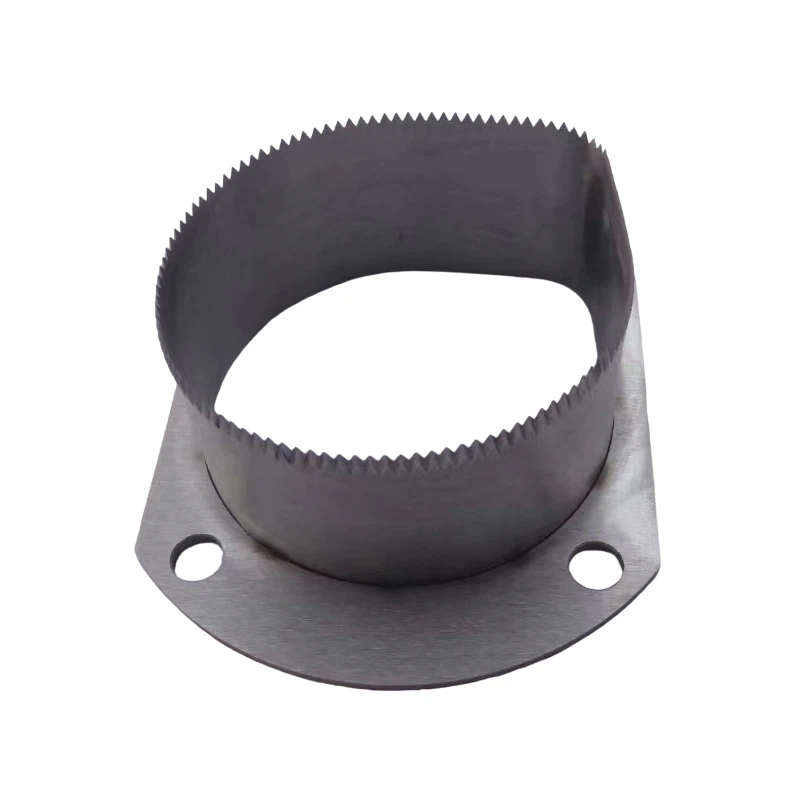
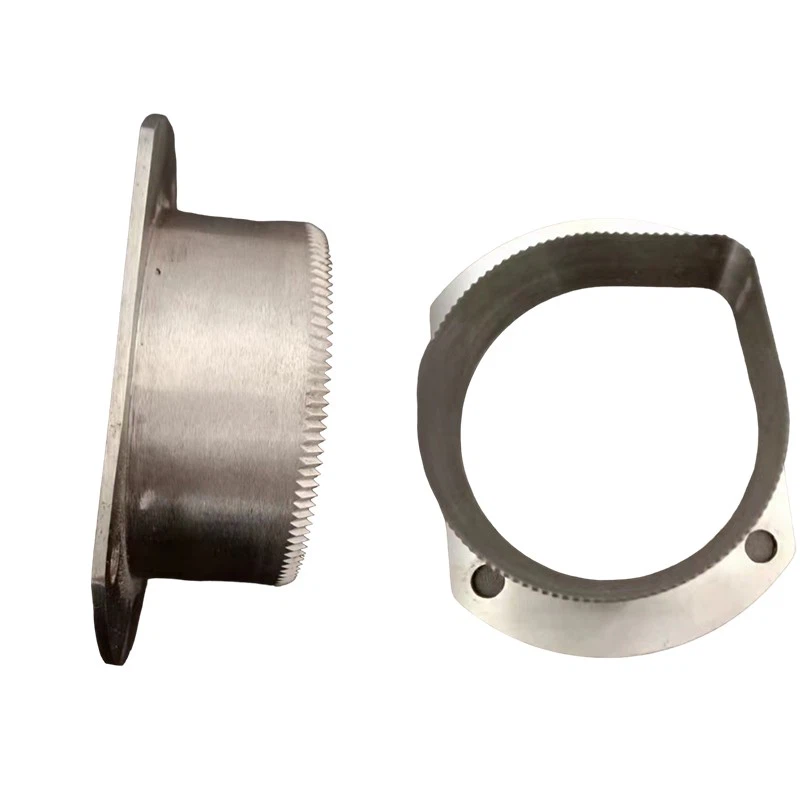
Adjusting the blade on a meat slicer to achieve different thicknesses is a crucial skill for both professional butchers and home cooks. As a meat slicer blade supplier, I've witnessed firsthand how the right blade adjustment can enhance the efficiency and quality of meat slicing. In this blog, I'll share detailed steps and tips on how to adjust the blade on a meat slicer for various thicknesses.
Understanding the Basics of Meat Slicer Blade Adjustment
Before diving into the adjustment process, it's essential to understand the basic components of a meat slicer. Most meat slicers consist of a blade, a carriage that holds the meat, and a thickness adjustment knob or lever. The blade is the heart of the slicer, and its sharpness and alignment directly affect the quality of the slices. The thickness adjustment mechanism allows you to control the distance between the blade and the carriage, which determines the thickness of the slices.
Pre - adjustment Preparations
- Safety First: Always unplug the meat slicer before making any adjustments. This prevents accidental startup, which could lead to serious injuries.
- Inspect the Blade: Check the blade for any signs of damage, such as chips or dullness. A damaged blade won't cut evenly and may require replacement. As a meat slicer blade supplier, I recommend using high - quality blades to ensure optimal performance.
- Clean the Slicer: A clean slicer operates more smoothly. Remove any meat debris or residue from the blade, carriage, and thickness adjustment mechanism. Use a mild detergent and a soft cloth to clean the surfaces, and dry them thoroughly before proceeding.
Adjusting the Blade for Different Thicknesses
Manual Thickness Adjustment
- Locate the Thickness Adjustment Knob or Lever: On most meat slicers, this is located near the carriage. It may be a simple knob that you turn or a lever that you move up and down.
- Understand the Scale: Many meat slicers have a scale on the thickness adjustment mechanism. This scale indicates the approximate thickness of the slices. For example, a setting of "1" may produce very thin slices, while a setting of "10" may result in thick slices.
- Make Small Adjustments: Start with a small adjustment. If you're not sure what thickness you want, begin with a medium setting, such as "5". Turn the knob or move the lever in small increments until you reach the desired thickness.
- Test the Slices: After making an adjustment, place a small piece of meat on the carriage and run it through the slicer. Check the thickness of the slices. If they're too thick or too thin, make further adjustments.
Electronic Thickness Adjustment
- Power On the Slicer: If your meat slicer has an electronic thickness adjustment, plug it in and turn it on. Make sure the slicer is in a safe and stable position.
- Access the Thickness Setting: Use the control panel on the slicer to access the thickness setting. This may involve pressing a button or using a touch - screen interface.
- Set the Desired Thickness: Enter the desired thickness value on the control panel. Some electronic slicers allow you to set the thickness in millimeters or inches.
- Verify the Setting: Once you've set the thickness, the slicer may display a confirmation message. Check that the displayed value matches your desired thickness.
- Test the Slices: As with manual adjustment, test the slices with a small piece of meat to ensure the correct thickness.
Tips for Optimal Blade Adjustment
- Use Consistent Pressure: When feeding the meat into the slicer, apply consistent pressure on the carriage. Inconsistent pressure can result in uneven slices, even if the blade is correctly adjusted.
- Sharpen the Blade Regularly: A sharp blade cuts more cleanly and requires less force. As a meat slicer blade supplier, I recommend sharpening the blade every few weeks, depending on how often you use the slicer.
- Keep the Blade Aligned: Misaligned blades can cause uneven slices and may damage the meat. Check the blade alignment regularly and make adjustments if necessary. This may involve tightening screws or using alignment tools provided by the slicer manufacturer.
Related Products from Our Supply
As a meat slicer blade supplier, we also offer a range of other high - quality blades for different applications. For example, we have V Type Packaging Machine Blades that are designed for precise cutting in packaging machines. These blades are made from high - grade materials to ensure long - lasting performance.
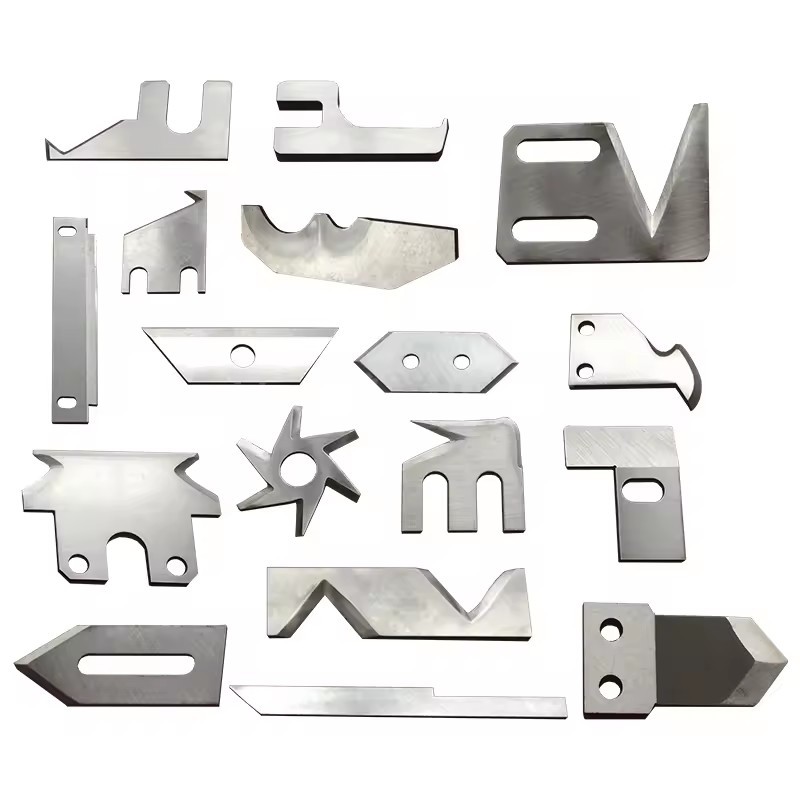
Our Cutting Blade For Film Laminating is another product that can meet your specific cutting needs. It provides clean and accurate cuts for film laminating processes.

We also supply Automatic Packaging Blade, which is suitable for high - speed automatic packaging lines. These blades are engineered to withstand the rigors of continuous operation.
Conclusion
Adjusting the blade on a meat slicer for different thicknesses is a skill that can significantly improve your meat - slicing experience. By following the steps and tips outlined in this blog, you can achieve consistent, high - quality slices every time. As a meat slicer blade supplier, we're committed to providing you with the best blades and support. If you have any questions about blade adjustment or need to purchase new blades, don't hesitate to contact us for further discussions. We're here to help you find the perfect solution for your slicing needs.
References
- Meat Slicer User Manuals from various manufacturers
- Industry standards and best practices for meat slicing equipment